
Create a webhook
A webhook is a unique web address. When a website, a form or a piece of software sends data to this address, Whatixo immediately runs your workflow: send a WhatsApp message, tag the contact, start a sequence…
Use cases
- A contact form on your website → WhatsApp welcome message to the lead.
- An appointment booked (Calendly, booking software) → WhatsApp reminder.
- An order in your point-of-sale software → confirmation to the customer.
- An alert from your server → message in your team’s WhatsApp group.
Step 1 — Create the webhook workflow
New workflow
Menu Automate → Workflows → Create.
Choose the “Webhook API” trigger
In the right panel, click the trigger, then Webhook API in the list.
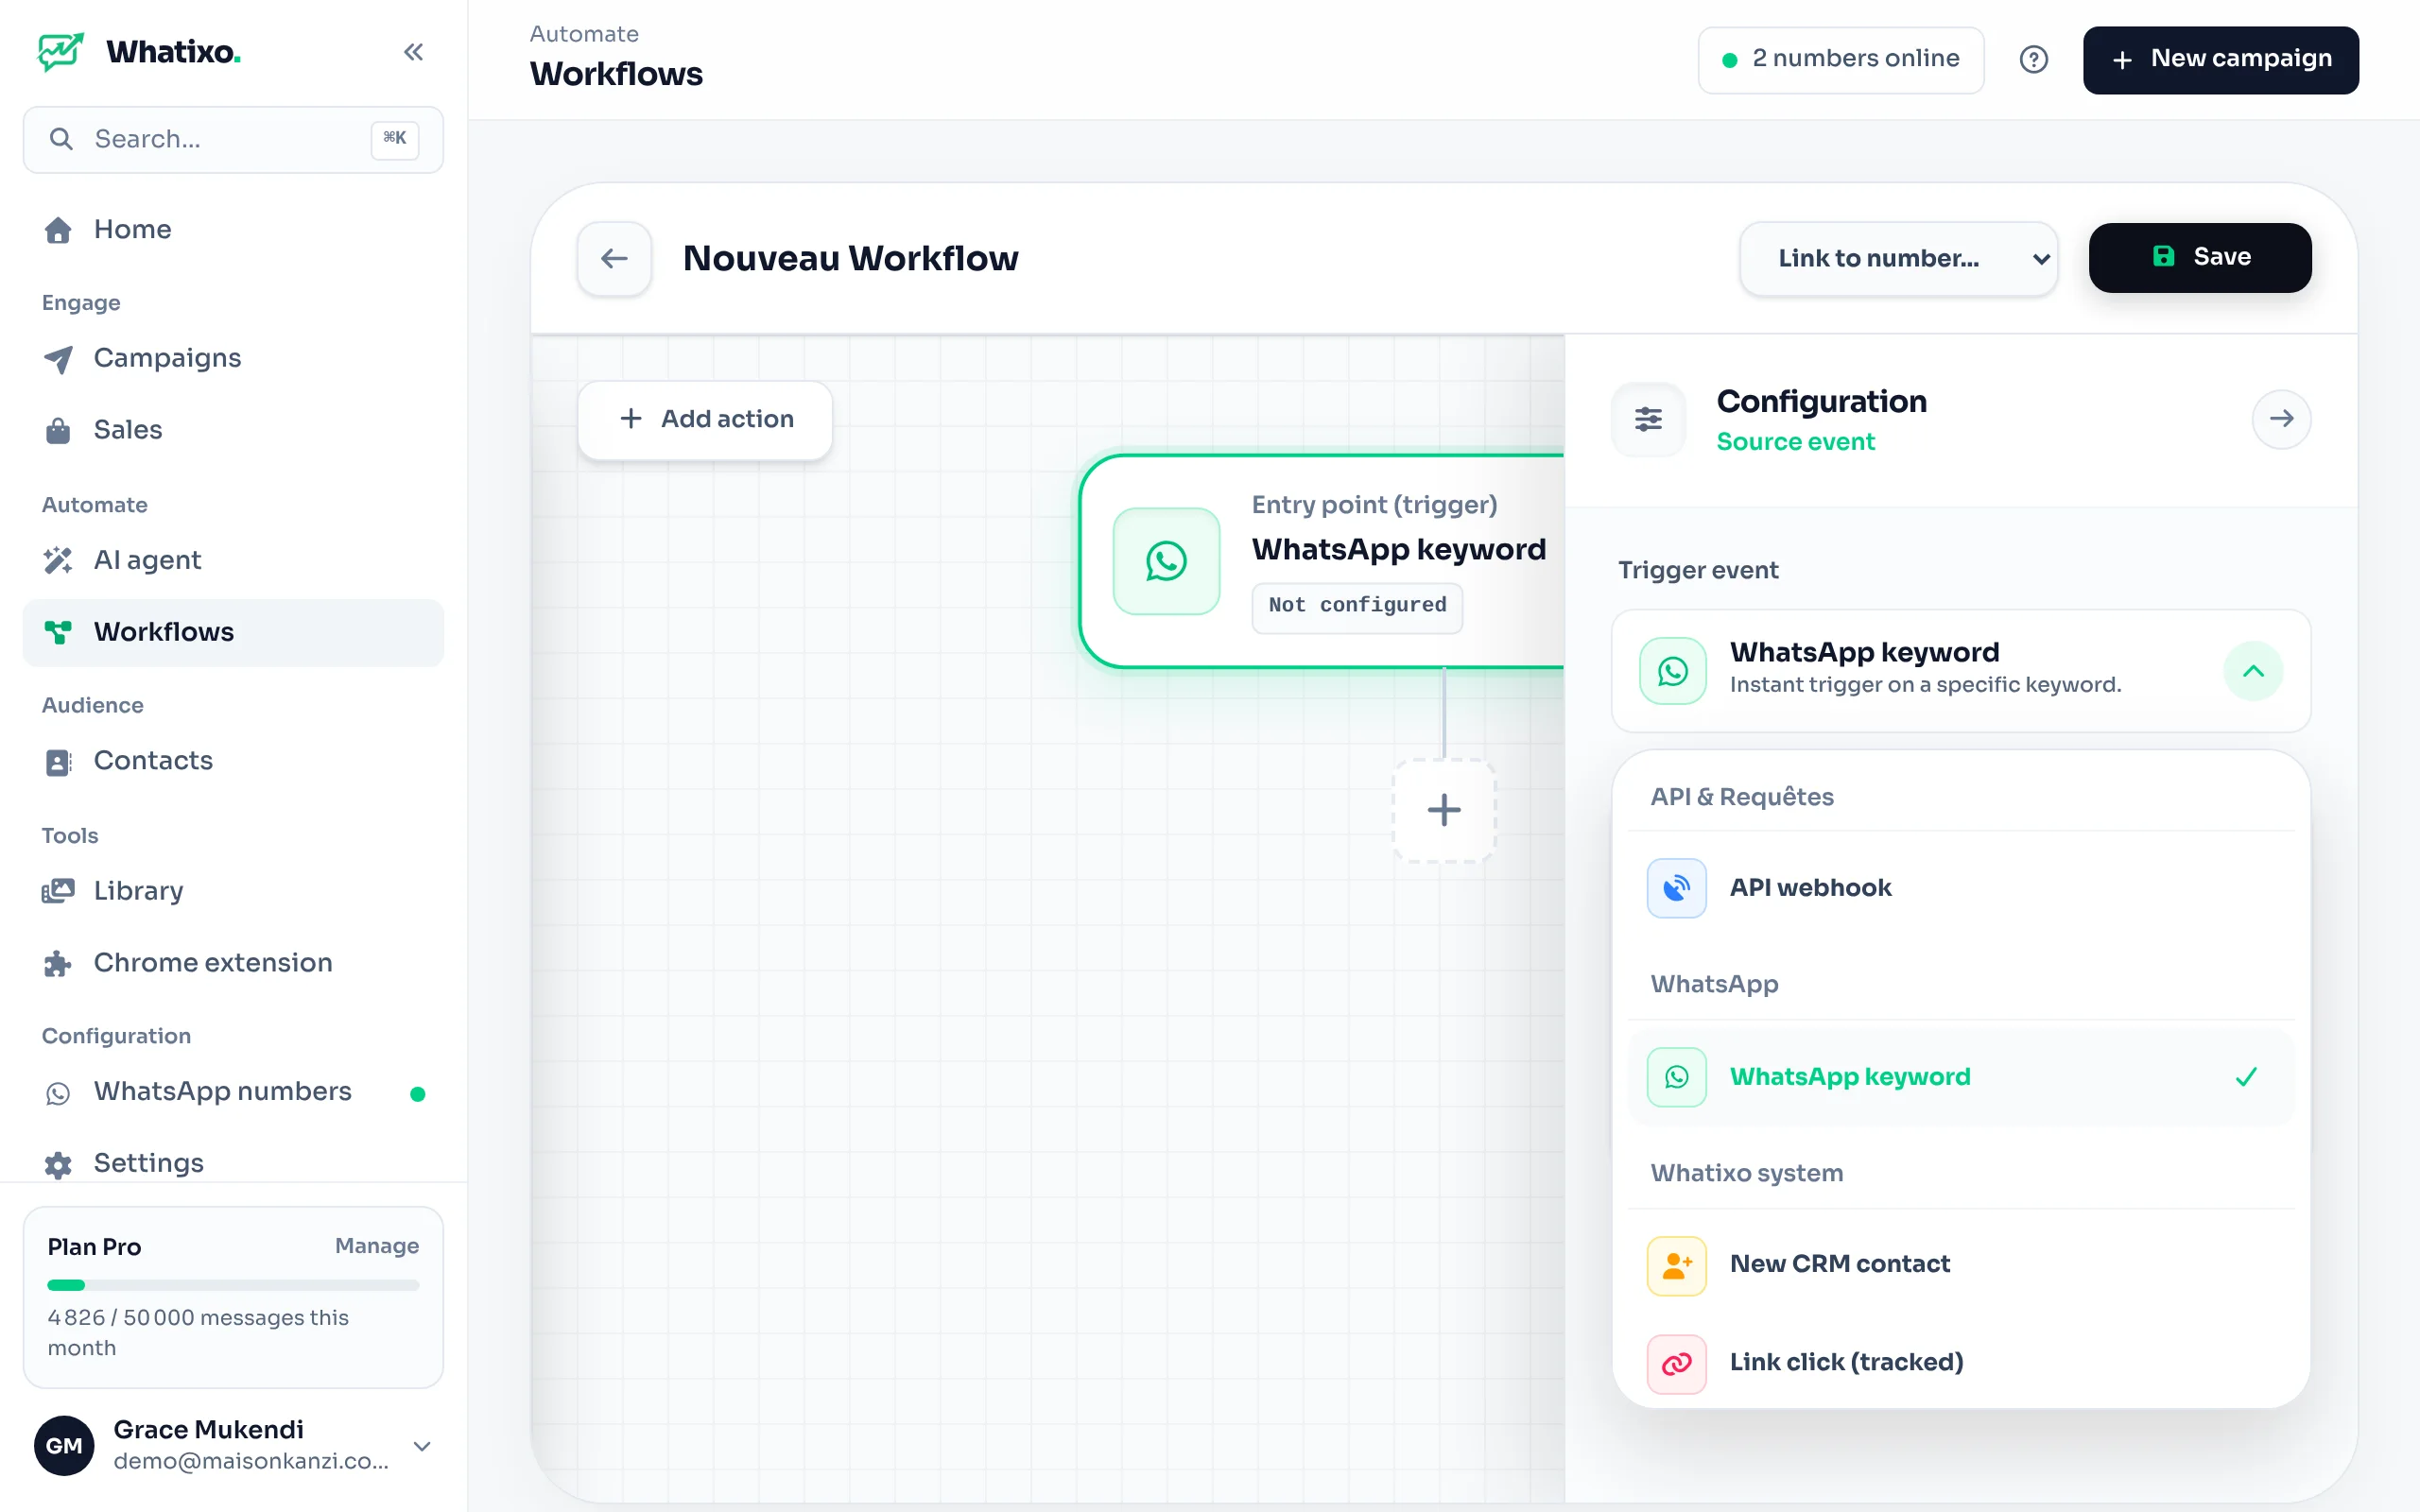
Link a number and save
Choose the sending number in Link to number…, then Save. The listening URL is generated and shown right away.
Copy the URL
Click the copy icon next to the listening URL (Webhook). It looks like https://api.whatixo.com/api/webhook/wh_9b2e4f71c3a8d605.
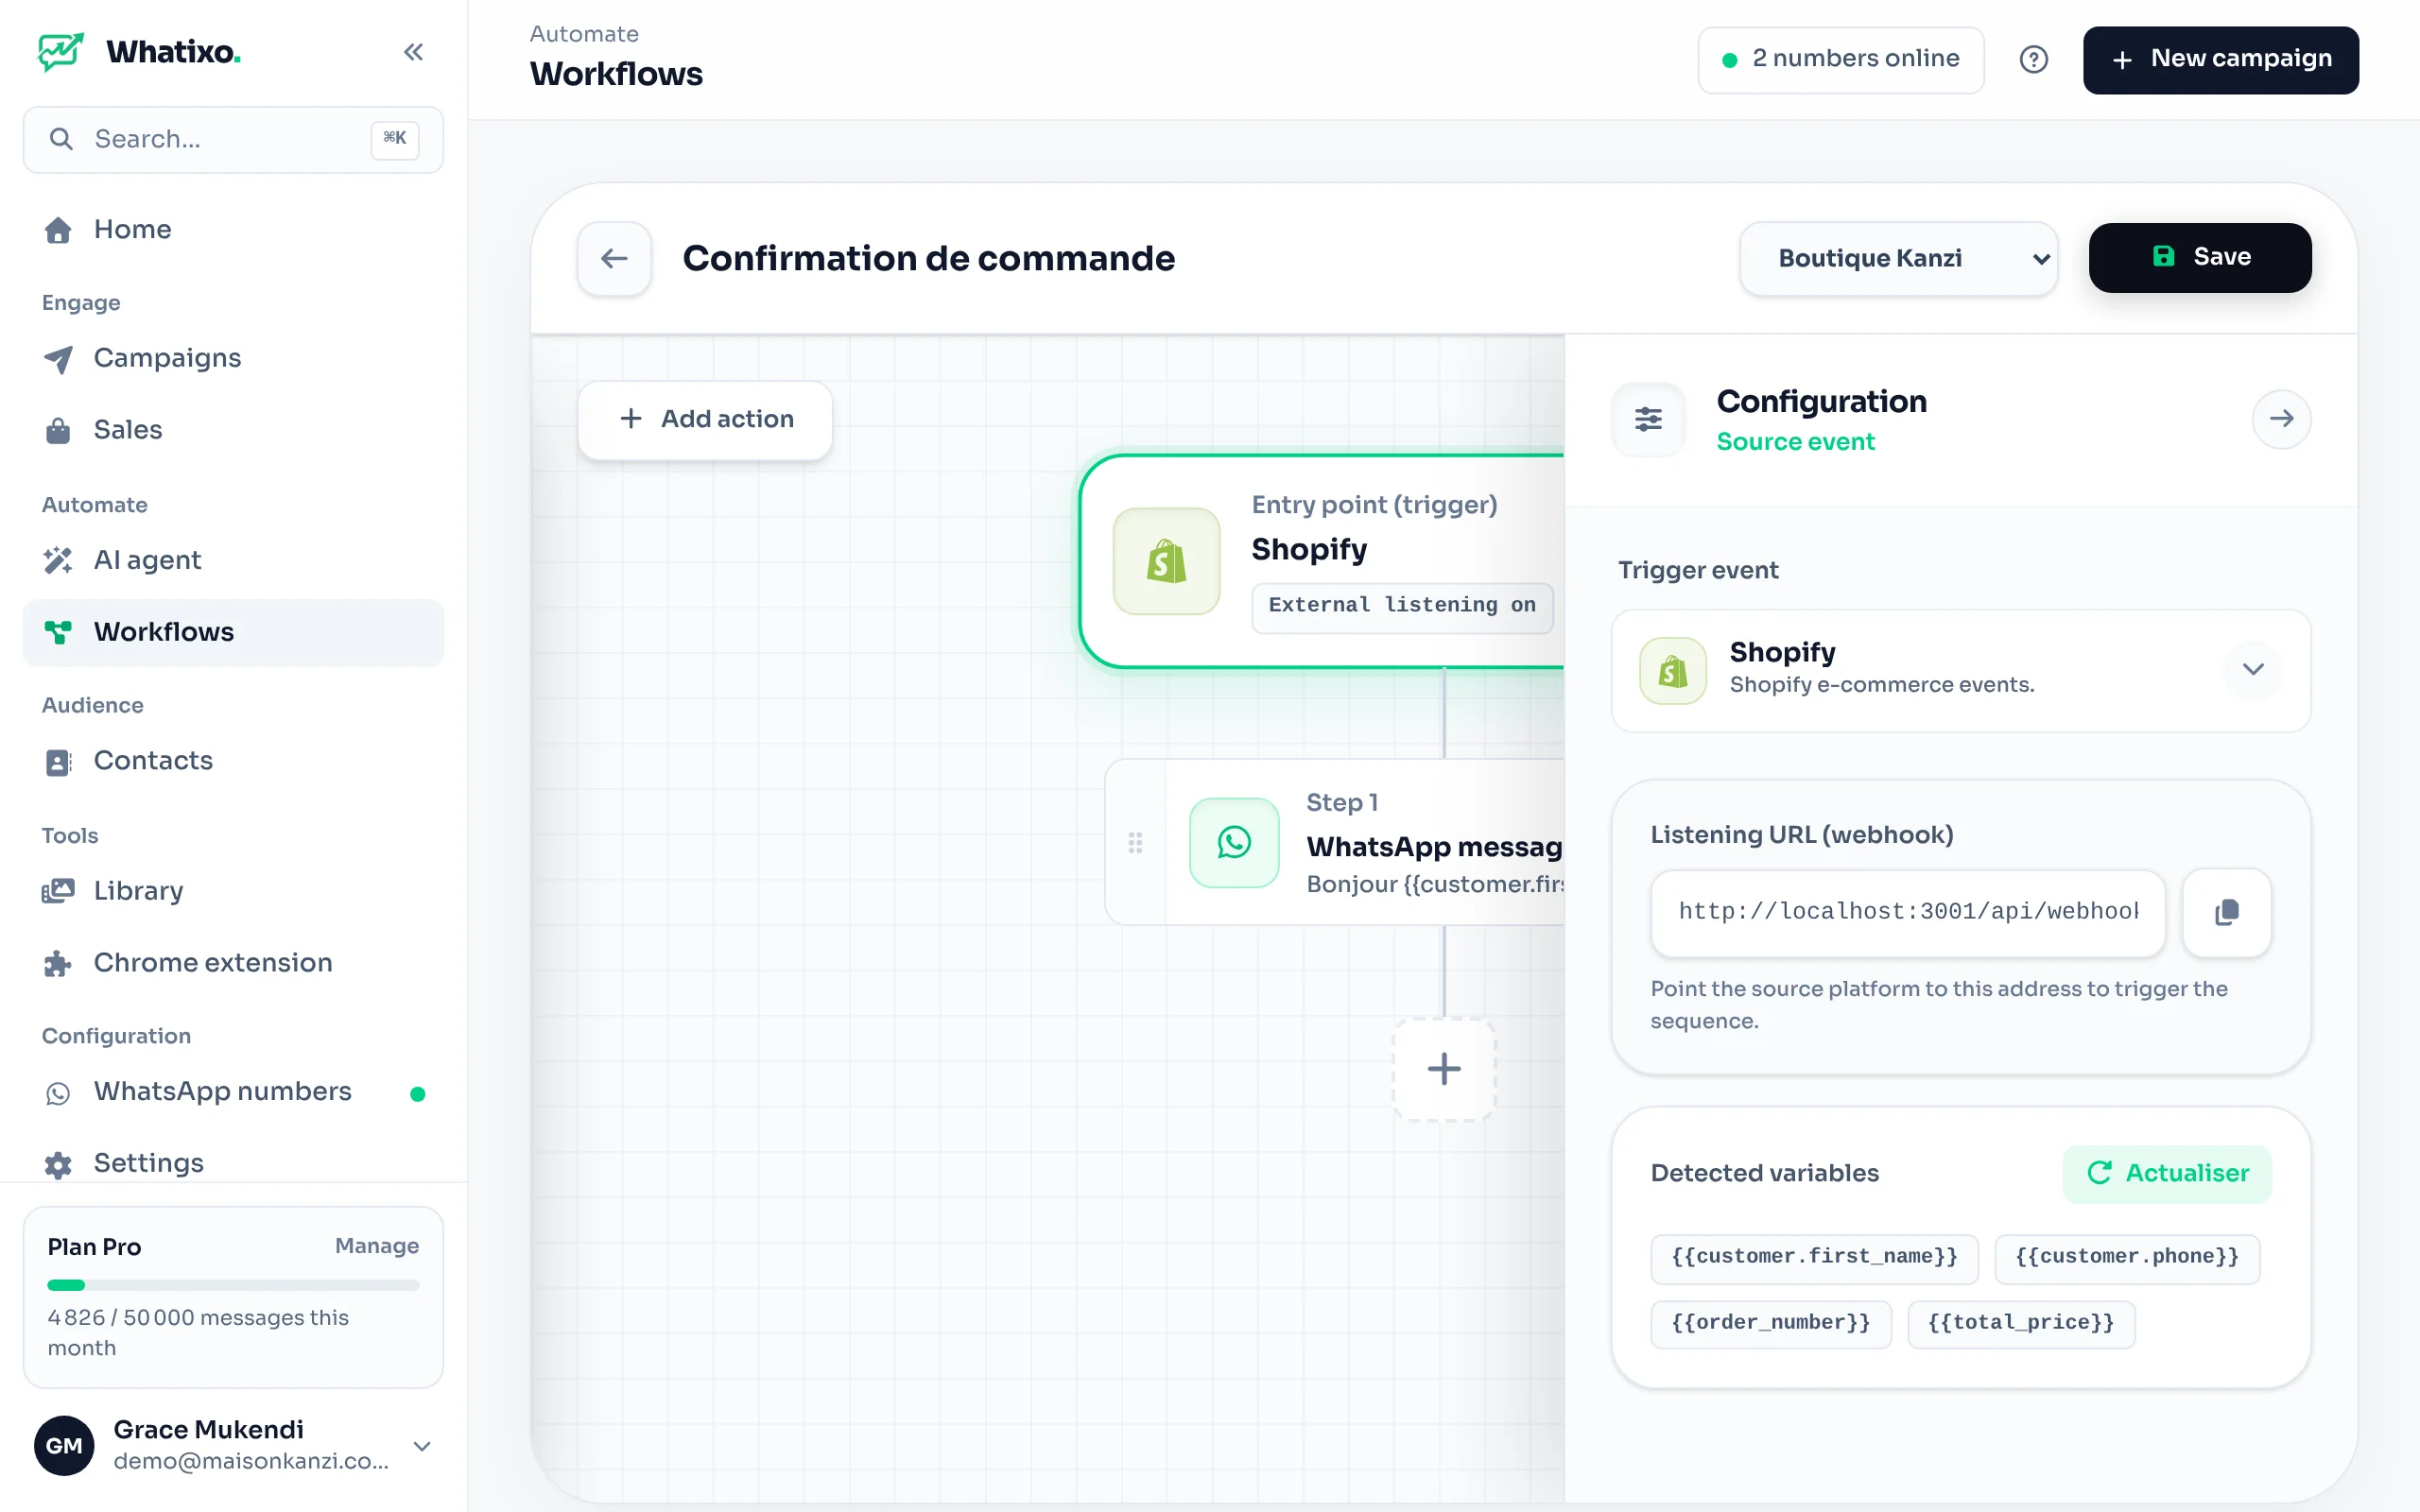
https://api.whatixo.com (the screenshot comes from a demo environment).This URL is secret. Anyone who knows it can trigger your workflow. Don’t publish it in the code of a web page visible to your visitors; call it from your server or a tool like Zapier/Make. If it leaked, delete the workflow and recreate it to get a new URL.
Step 2 — Send a first test
Send a POST request with a JSON body. Any structure is accepted: you choose the keys.
curl -X POST "https://api.whatixo.com/api/webhook/wh_9b2e4f71c3a8d605" \
  -H "Content-Type: application/json" \
  -d '{
    "first_name": "Aline",
    "phone": "243812345601",
    "appointment": { "date": "11/12/2026", "time": "2:30 pm" }
  }'
await fetch('https://api.whatixo.com/api/webhook/wh_9b2e4f71c3a8d605', {
method: 'POST',
headers: { 'Content-Type': 'application/json' },
body: JSON.stringify({
first_name: 'Aline',
phone: '243812345601',
appointment: { date: '11/12/2026', time: '2:30 pm' },
}),
});$ch = curl_init('https://api.whatixo.com/api/webhook/wh_9b2e4f71c3a8d605');
curl_setopt_array($ch, [
CURLOPT_POST => true,
CURLOPT_RETURNTRANSFER => true,
CURLOPT_HTTPHEADER => ['Content-Type: application/json'],
CURLOPT_POSTFIELDS => json_encode([
'first_name' => 'Aline',
'phone' => '243812345601',
'appointment' => ['date' => '11/12/2026', 'time' => '2:30 pm'],
]),
]);
$response = curl_exec($ch);
curl_close($ch);import requests
requests.post(
"https://api.whatixo.com/api/webhook/wh_9b2e4f71c3a8d605",
json={
"first_name": "Aline",
"phone": "243812345601",
"appointment": {"date": "11/12/2026", "time": "2:30 pm"},
},
timeout=10,
)Expected response:
{ "success": true, "message": "Webhook reçu et en cours de traitement." }Whatixo answers immediately, then runs the workflow in the background (including any waits).
Step 3 — Get the variables
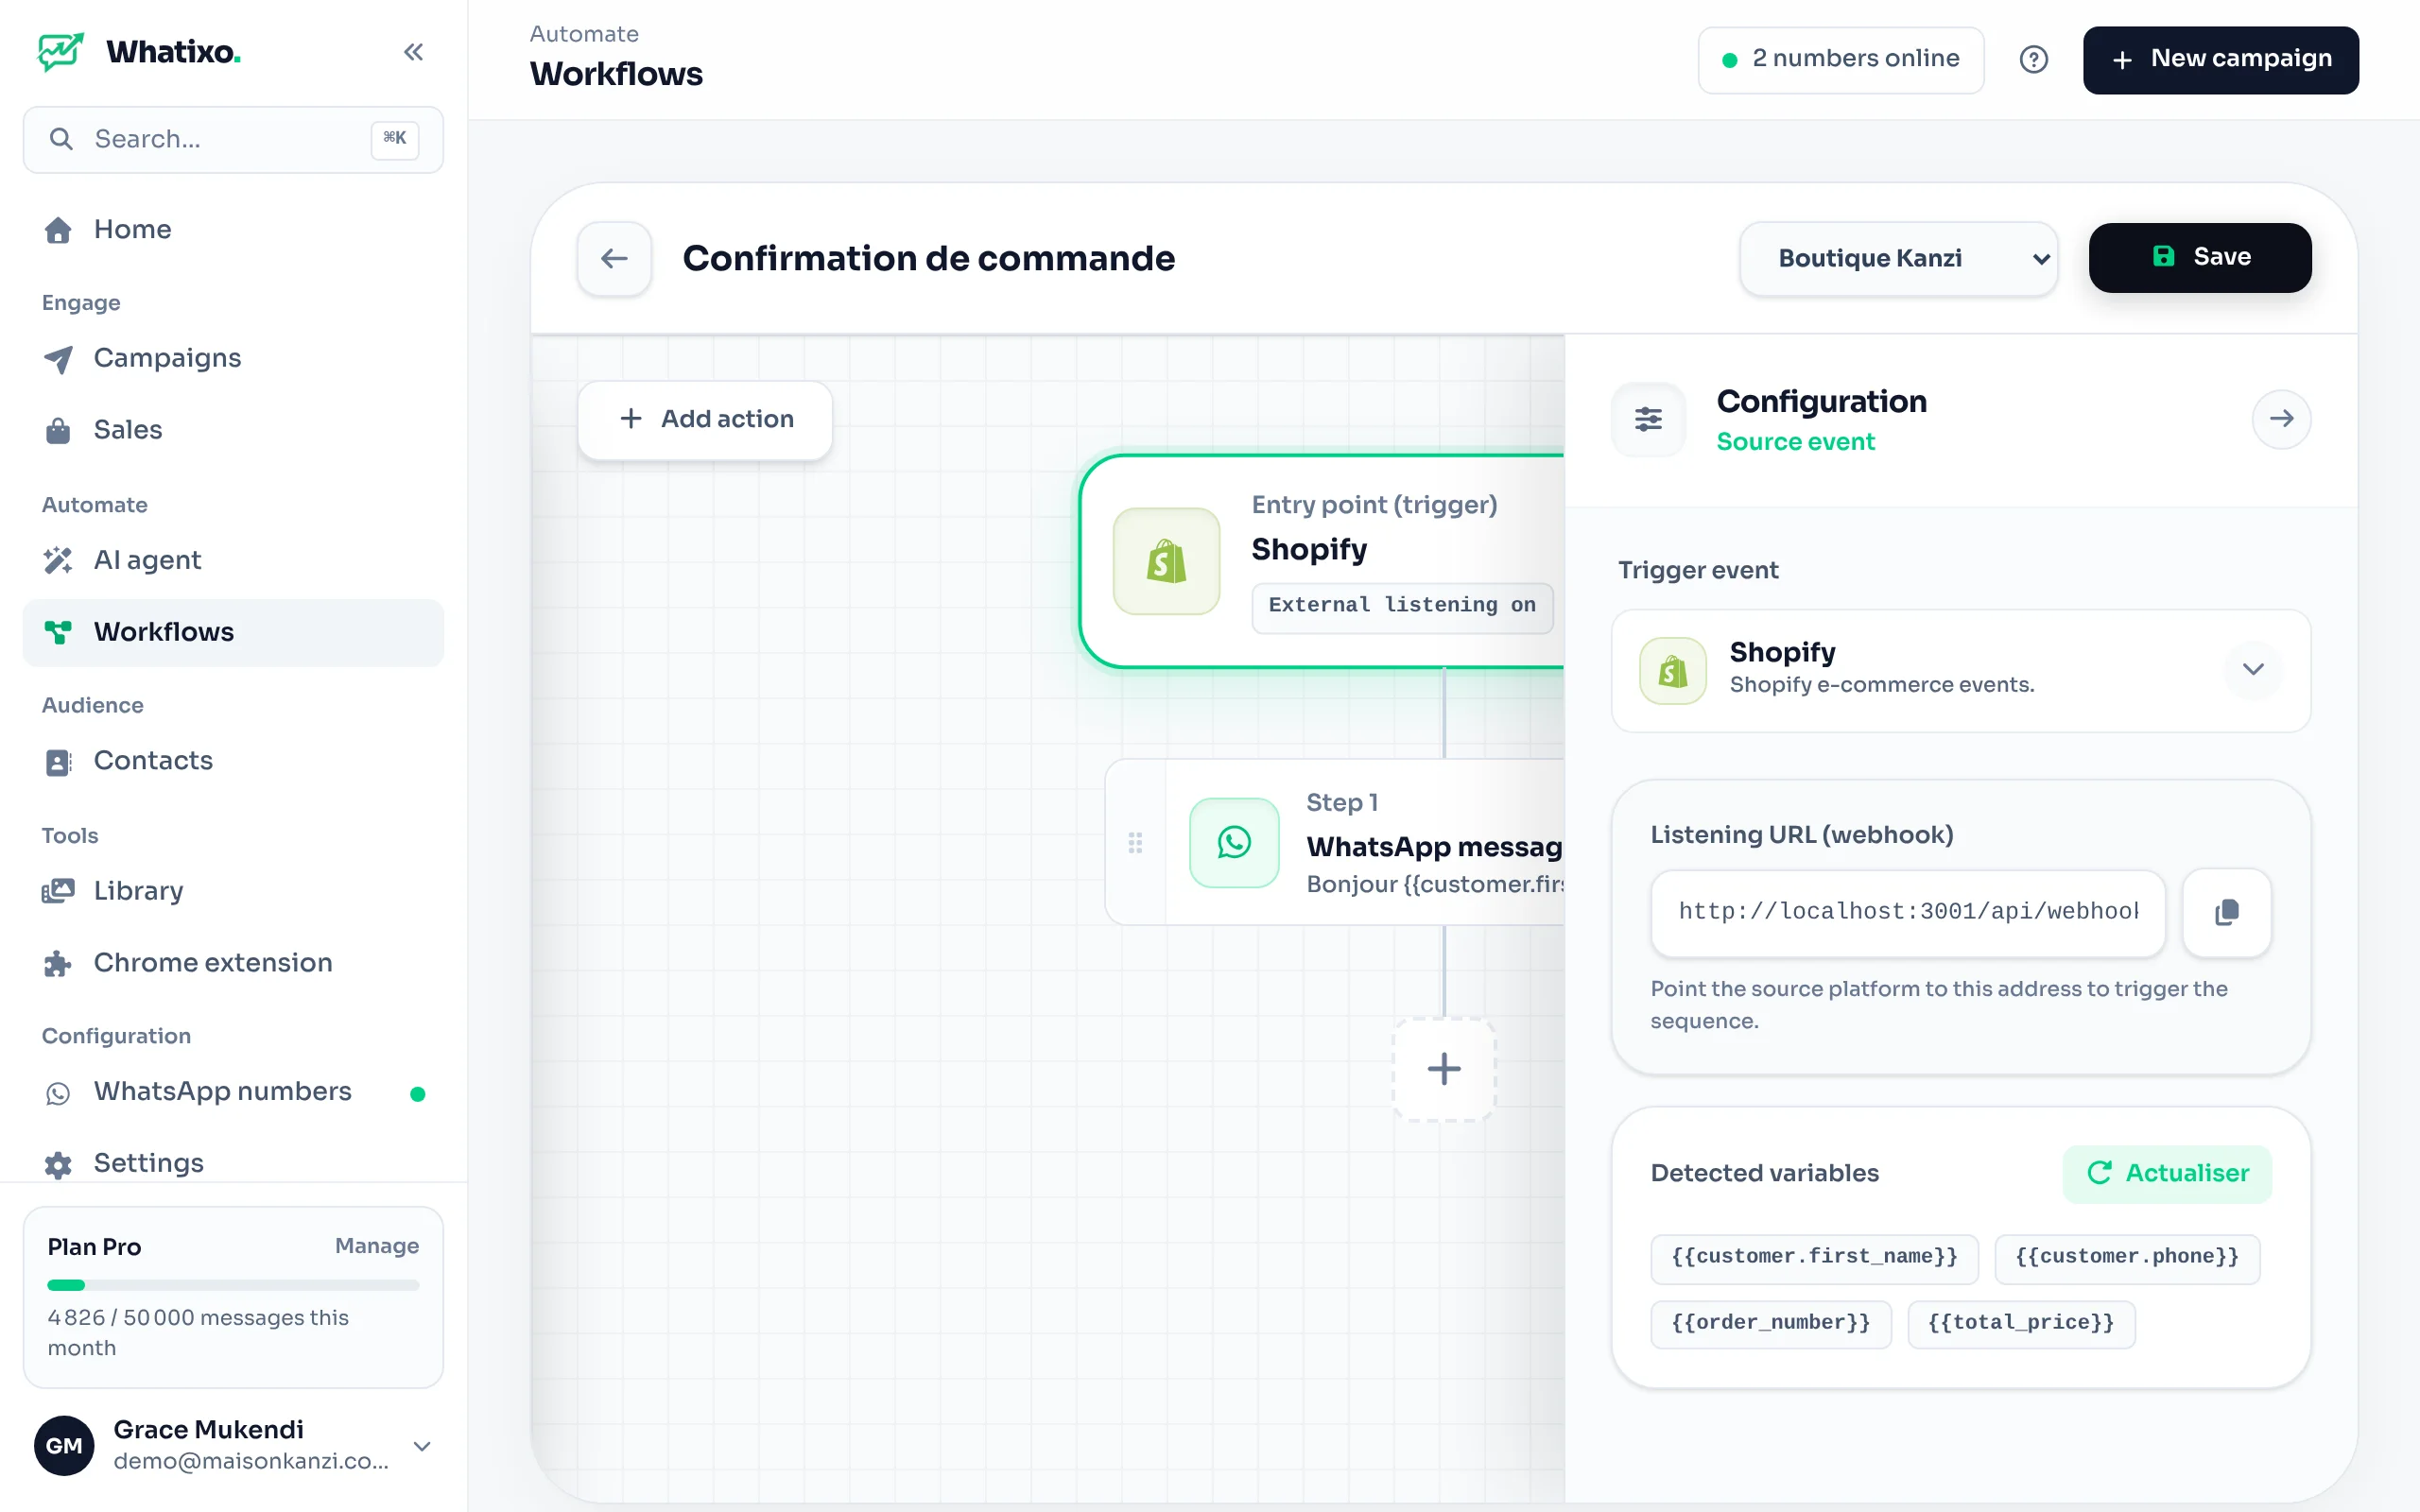
Go back to the workflow and click Refresh in Detected variables. Every key received appears: {{first_name}}, {{phone}}, {{appointment.date}}, {{appointment.time}}. Click a variable to insert it.
Step 4 — Add the WhatsApp message
Add the action
Add action → WhatsApp message.
Recipient
Insert the variable holding the number: {{phone}}. The number must include the country code; spaces, dashes and “+” are removed automatically.
Content
Write the message with the variables:
Hi {{first_name}} 👋
Your appointment is confirmed on {{appointment.date}} at {{appointment.time}}.
Reply 1 to confirm or 2 to reschedule.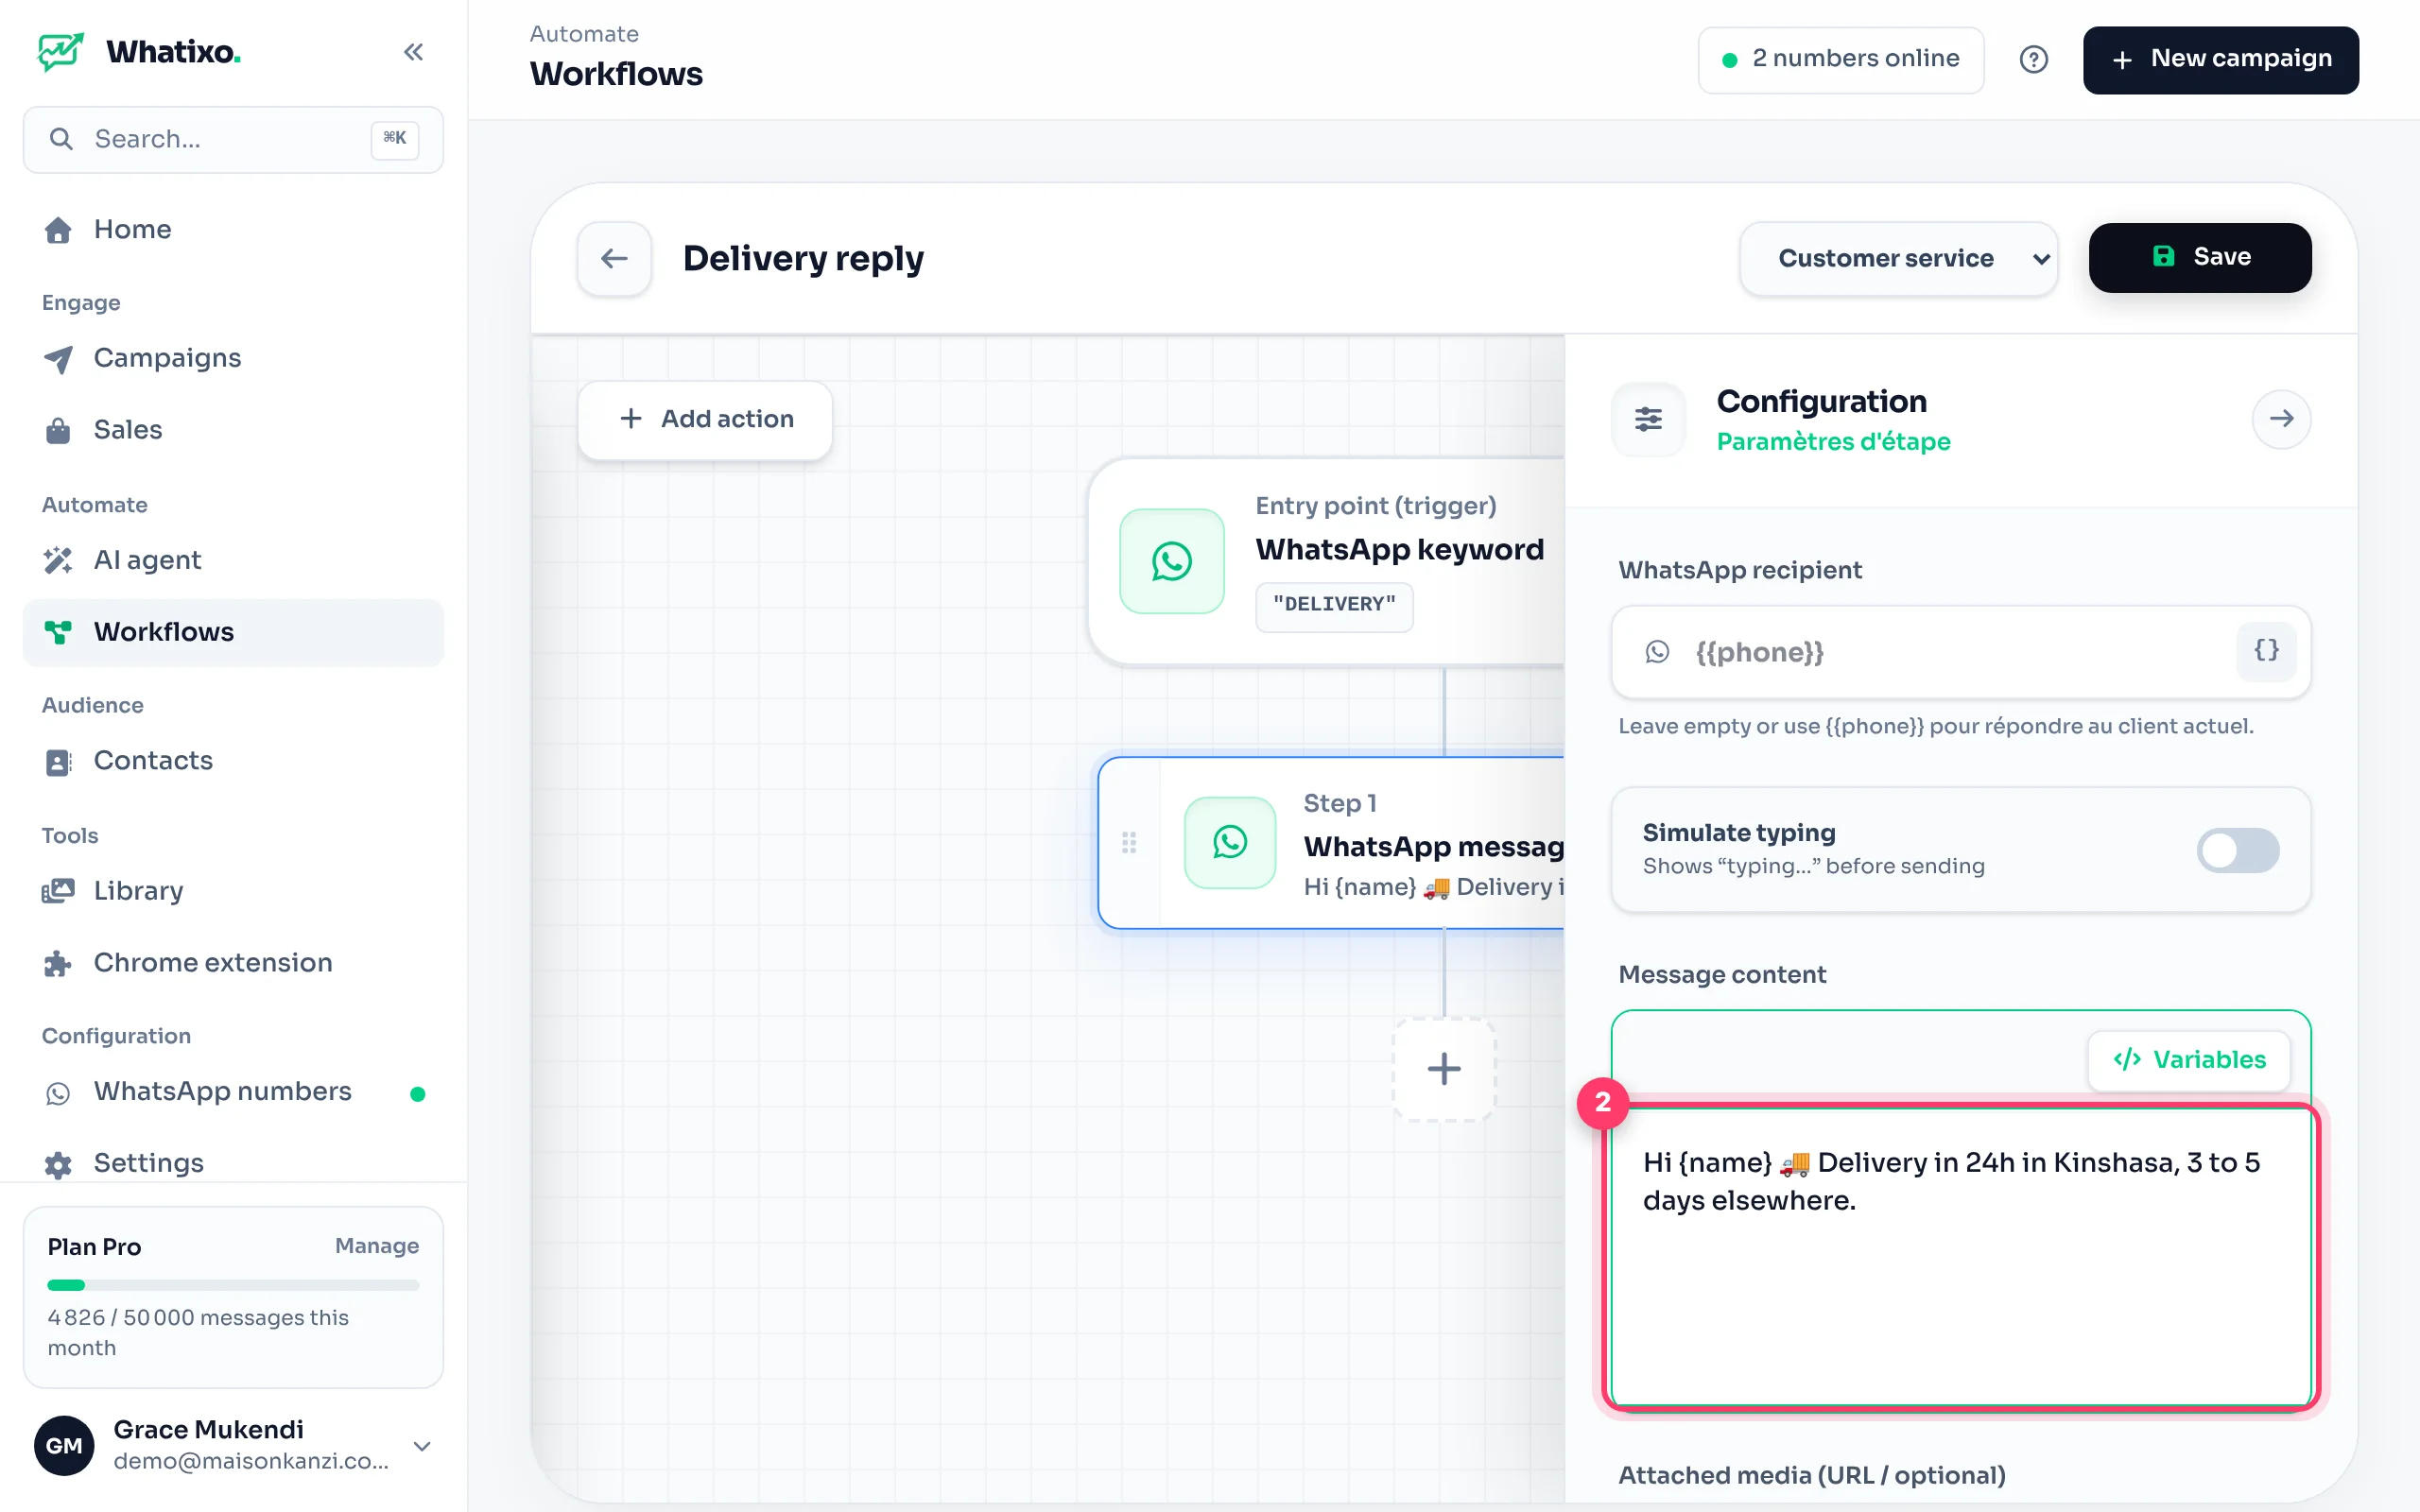
Save and test
Save, then resend the request from step 2 with your number: you receive the message on WhatsApp within seconds.
Go further
- Add a CRM management action to save the contact with a tag (and start a sequence).
- Use a Condition to send different messages depending on the data (e.g.
{{appointment.type}}). - Add a Wait to send a reminder later.
- Use AI formatting to turn raw data into a natural message (
{{ia_response}}).
Technical reference
| Item | Value |
|---|---|
| Method | POST |
| Body | JSON (application/json) or form (application/x-www-form-urlencoded), 1 MB max |
| Authentication | None: the secret wh_… ID in the URL acts as the key |
| Limit | 120 requests per minute per IP address |
| Responses | 200 received · 200 “Webhook inactif” · 404 unknown URL · 402 subscription suspended · 429 too many requests |
See also the developer page Incoming webhooks.